Let's go step by step
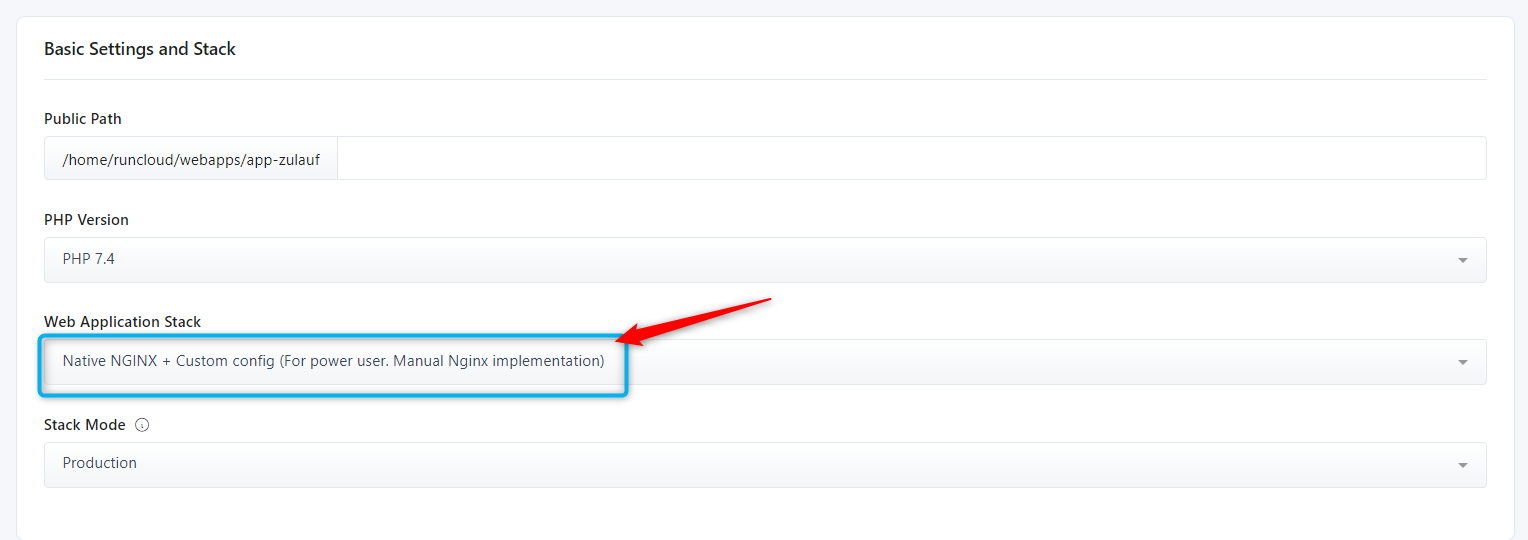
- When you create a New Web Application on your server it's very important to choose "Native NGINX + Custom config (For power user. Manual Nginx implementation)"

- After creating a web application, you should go to "NGINX Config" and click "Add a New Config"
- In the Predefined Config dropdown don't choose anything and choose "location.root" in the Type dropdown. In the Config content, you can paste:
location / { expires 1m; proxy_redirect off; proxy_set_header Host $host; proxy_set_header X-Real-IP $remote_addr; proxy_set_header X-Forwarded-For $proxy_add_x_forwarded_for; proxy_set_header X-Forwarded-Proto $scheme; proxy_read_timeout 1m; proxy_connect_timeout 1m; proxy_pass http://127.0.0.1:3000; # set the address of the Node.js instance here } - That's for the NGINX part. If you have the ssh console open - go to the project folder, run
npm run buildand thennpm run startas long as you have NUXT running on the3000port - this will already work. But obviously, we need it running in the background and update with every deployment. We use Envoyer for continuous deployment of the code, but the commands will be more or less regardless of what you use. - First you need to install pm2 project manager with
npm install -g pm2 - Set up your deployment hooks smth like this:

- The deployment hook for running the Nuxt will look like
cd {{ release }} && (pm2 delete -s npm || exit 0) && pm2 start npm -- start
That's it. That way, building and restarting your Nuxt application will be a part of your deployment process. 